If you run an e-commerce store, sell on marketplaces like Amazon, Etsy, Shopify, or eBay, or manage product catalogs for clients, high-quality product photography is no longer optional. Professional-looking product images increase trust, improve conversion rates, reduce return rates, and strengthen your brand identity. The good news is that you don’t need a commercial studio or thousands of dollars in equipment to create outstanding product photos.
A well-planned DIY product photography setup at home can produce images that look professional while keeping costs low. Whether you’re a small business owner, photographer, or creative agency, learning to build an affordable home photography studio will help you create consistent, high-converting product images.
In this guide, we’ll explain everything you need to know—from choosing the right equipment and lighting to camera settings, backgrounds, composition, editing, and common mistakes to avoid.
Professional product photography directly influences customer purchasing decisions. Studies consistently show that online shoppers rely heavily on visuals because they cannot physically inspect products.
Benefits include:
For startups and small businesses, investing a few hundred dollars in a home studio often delivers an excellent return compared to repeatedly outsourcing photography.
One of the biggest misconceptions is that professional product photography requires expensive gear. In reality, lighting and technique matter far more than camera price.
You can use:
Today’s flagship smartphones can capture excellent product images when combined with proper lighting.
A sturdy tripod ensures:
Never underestimate how much image quality improves simply by stabilizing your camera.
Lighting is the foundation of successful product photography.
Popular choices include:
Continuous LED lighting is often the easiest solution for beginners because you can see the lighting effect before taking the photo.
Lighting determines whether a product looks premium or cheap.
Natural light works extremely well for beginners.
Tips:
This inexpensive setup creates soft shadows and natural colors.
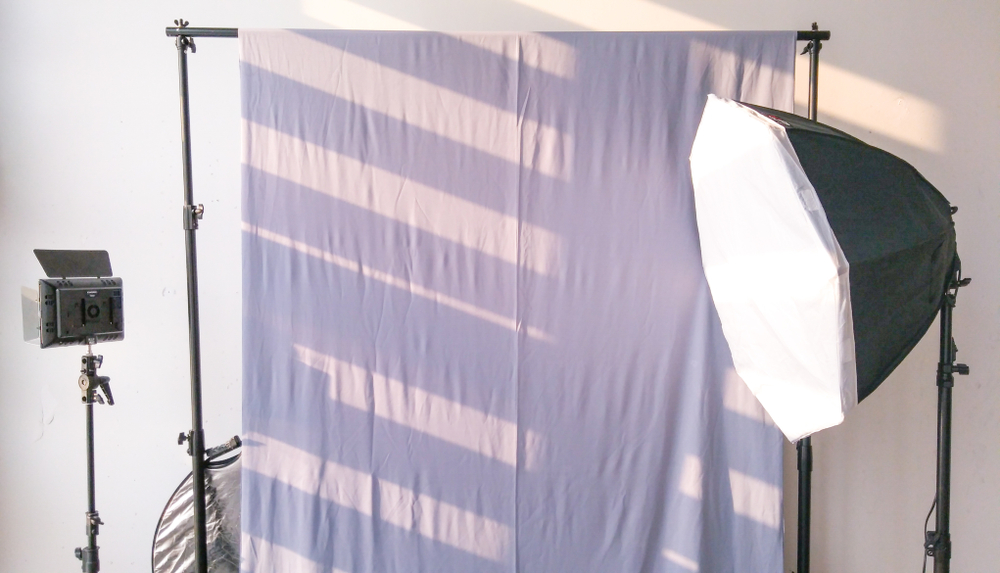
Artificial lighting offers greater consistency.
Recommended setup:
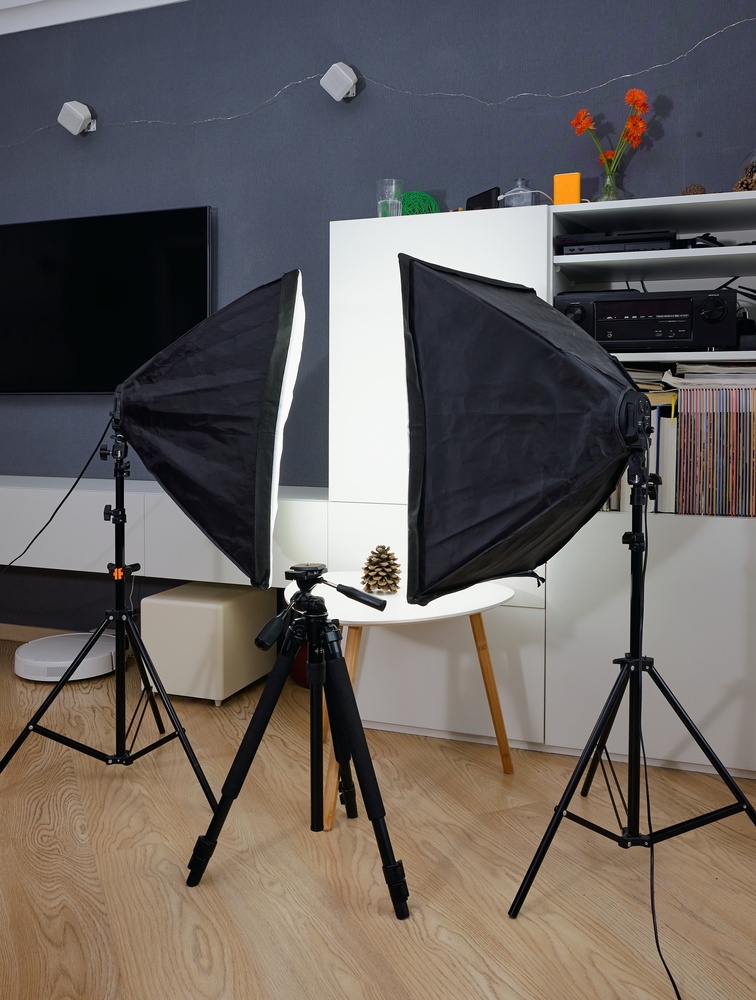
This arrangement minimizes shadows while creating balanced illumination across the product.
The background should never distract from the product.
Popular options include:
Perfect for:
White backgrounds emphasize the product while maintaining a clean appearance.
Ideal for:
Use colors that complement your product rather than overpower it.
Popular materials include:
These backgrounds create lifestyle-inspired images while maintaining professionalism.
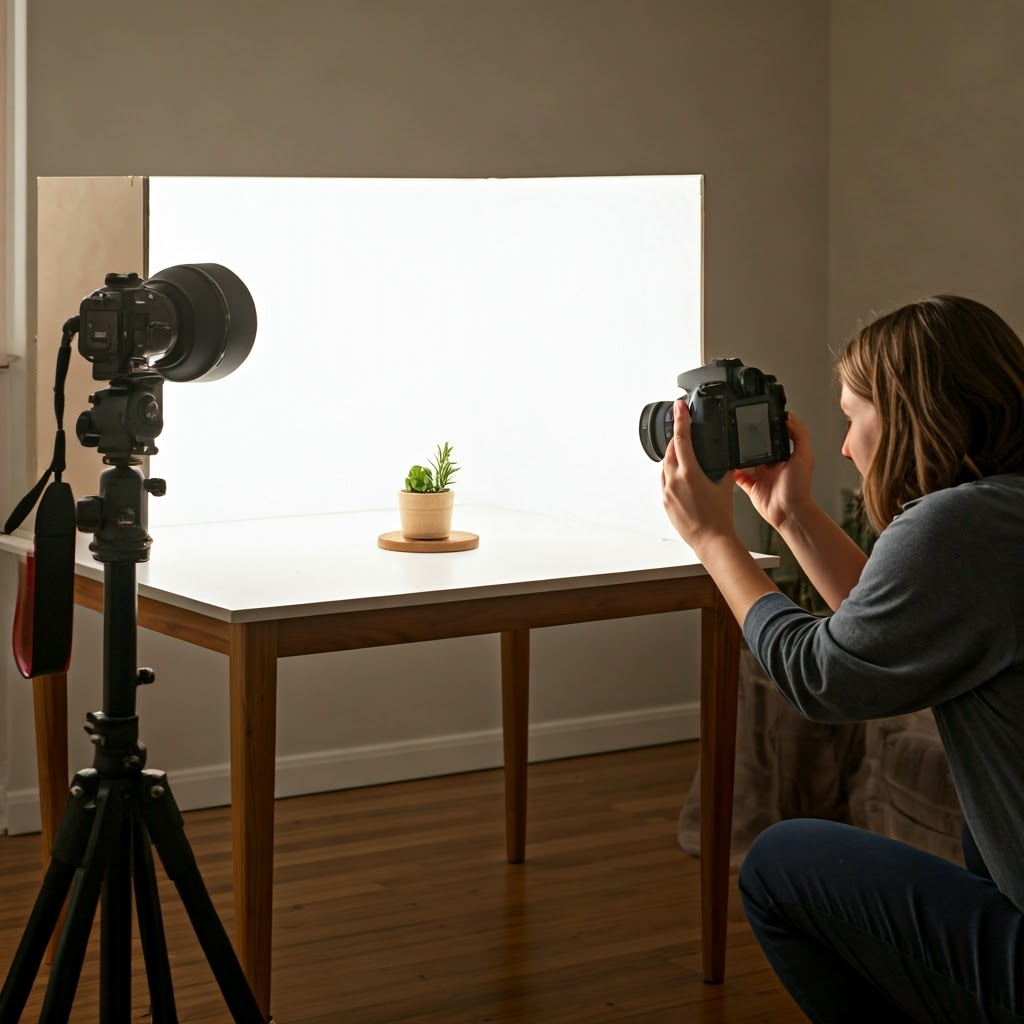
A homemade lightbox is one of the easiest ways to photograph small products.
Materials:
Steps:
The result is soft, evenly distributed lighting with minimal shadows.
Using manual settings gives you greater consistency.
Recommended settings:
Keep ISO between:
100–200
Lower ISO reduces digital noise.
Use:
f/8 to f/13
This provides greater depth of field so the entire product remains sharp.
Since the camera is mounted on a tripod, slower shutter speeds are acceptable.
Set a fixed white balance instead of Auto.
This ensures color consistency across every image.
Use manual focus whenever possible for maximum precision.
How you arrange the product significantly impacts image quality.
Remember to:
Tiny imperfections become highly visible in high-resolution photography.
Minimal styling often produces the best results.
Examples:
Jewelry:
Cosmetics:
Electronics:
Food:
Props should support—not dominate—the product.
Professional product photography relies on intentional composition.
Place important elements along grid intersections.
Perfect for:
Leave empty space around the product.
Benefits include:
Customers appreciate seeing products from every perspective.
Capture:
Providing comprehensive visuals builds buyer confidence.
Reflective products are challenging because they easily capture unwanted reflections.
Examples:
Solutions:
Patience is essential when photographing reflective surfaces.
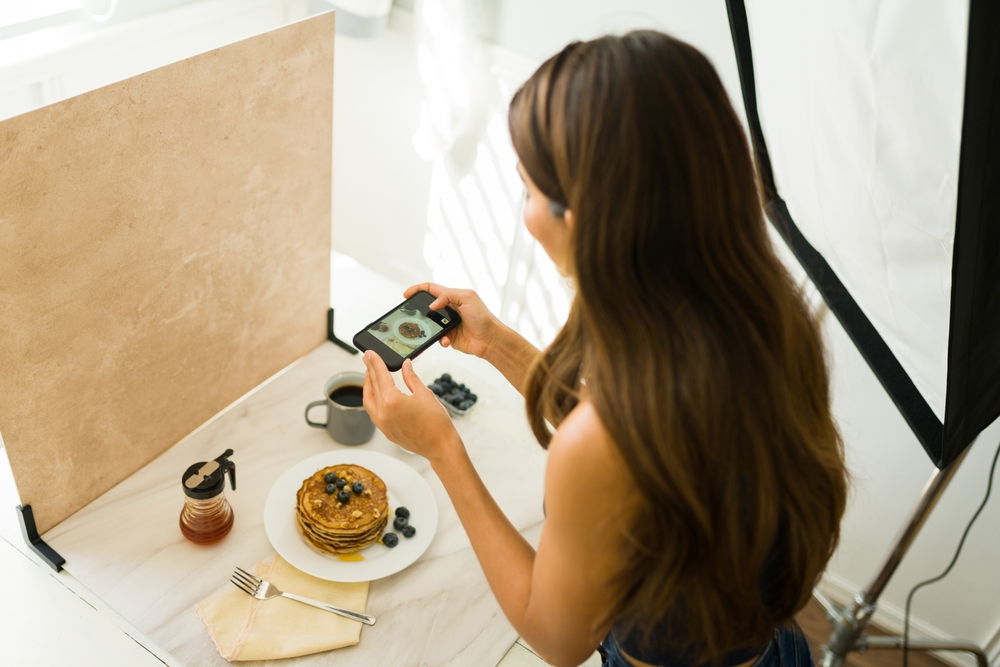
Modern smartphones produce surprisingly professional results.
Best practices:
Avoid digital zoom.
Instead, move physically closer.
Photography doesn’t end when you press the shutter.
Professional editing improves consistency.
Typical adjustments include:
For e-commerce businesses, outsourcing editing to specialists like Clipping Images can significantly reduce production time while ensuring pixel-perfect results.
Clean backgrounds increase product visibility.
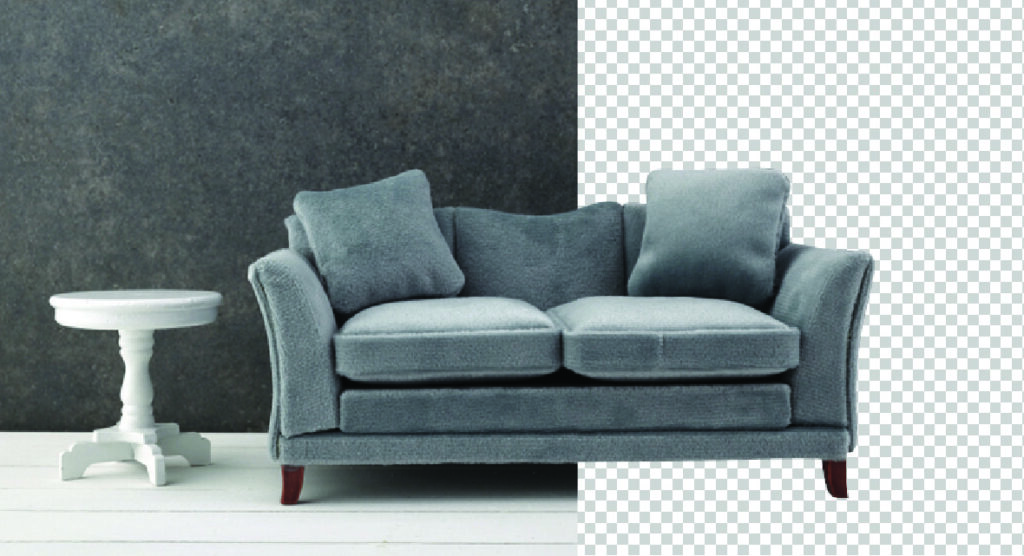
Professional background removal helps:
Accurate clipping paths also ensure clean edges around complex products.
Avoid these frequent errors:
Correcting these issues dramatically improves overall image quality.
Efficiency matters when photographing large product catalogs.
Recommended workflow:
A repeatable workflow ensures consistency across hundreds of products.
Choose file formats based on your intended use.
JPEG:
PNG:
TIFF:
RAW:
Maintain organized file names for easier catalog management.
Excellent product photography contributes to SEO in several ways.
Optimize images by:
Search engines value pages that provide a superior user experience, including optimized visuals.
Many businesses prefer photographing products themselves while outsourcing editing.
Professional editing services can provide:
This hybrid approach reduces costs while maintaining professional quality.
Building a DIY product photography setup at home is one of the smartest investments for online sellers, photographers, and creative agencies. With the right lighting, a stable camera setup, thoughtful composition, and consistent editing, you can produce professional-quality images without renting a commercial studio.
Remember that successful product photography is not about owning the most expensive equipment—it’s about understanding light, maintaining consistency, and presenting products in a way that builds customer confidence. As your business grows, combining an efficient home photography workflow with expert post-production services can help you scale faster while preserving exceptional image quality.
If you’re looking to take your product visuals to the next level, pairing your DIY photography process with professional clipping path, background removal, and image retouching services ensures every image meets the highest e-commerce standards. High-quality product photography not only enhances your brand’s credibility but also drives more clicks, higher conversions, and long-term customer trust.