August 16, 2026
Ghost mannequin editing is one of the most effective photo-editing techniques for presenting clothing and apparel professionally in e-commerce stores. Also known as invisible mannequin photography, this technique removes the visible mannequin or model from a product image while preserving the natural shape, structure, and inner details of the garment. The result is a clean, three-dimensional product image that looks as if the clothing is being worn by an invisible person.
For fashion brands, online retailers, photographers, and creative agencies, learning how to create ghost mannequin images can improve product presentation, maintain brand consistency, and make apparel catalogs look more professional. In this ghost mannequin editing tutorial, we will explain the complete process, from photography preparation to Photoshop editing and final image optimization.
Ghost mannequin editing is a specialized image-editing process used primarily for clothing and apparel photography. A garment is photographed on a mannequin, usually from multiple angles or with separate images showing the inside of the clothing. During post-production, the mannequin is removed, and different image sections are combined to create the appearance of an invisible mannequin.
For example, a jacket can be photographed on a mannequin from the front. Another photograph may capture the inside collar area while the garment is removed from the mannequin. Photoshop is then used to combine these images. The mannequin disappears, but the collar, neckline, sleeves, and overall garment shape remain visible.
This technique is particularly popular for:
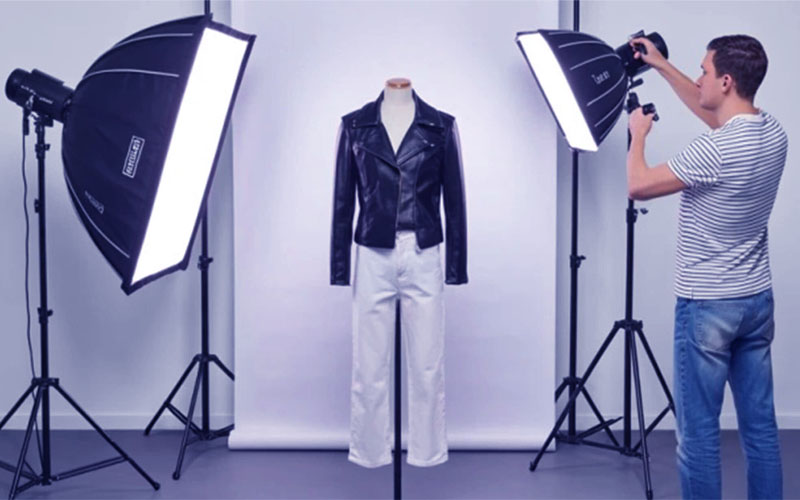
The main goal is to make the clothing look realistic while keeping the product as the visual focus.
Online shoppers cannot physically touch or try on products before purchasing them. High-quality product photography therefore plays an important role in helping customers understand clothing design, fit, structure, and details.
A professional ghost mannequin image provides several advantages.
Invisible mannequin images give apparel stores a clean and consistent appearance. Instead of distracting customers with a mannequin or model, the image focuses entirely on the garment.
Because the clothing retains its three-dimensional structure, customers can better understand how the product is constructed.
When dozens or hundreds of products are displayed on the same website, consistent image styles create a more professional shopping experience.
Removing the mannequin, clips, stands, and other photography equipment helps shoppers concentrate on the actual product.
Professional apparel images can be prepared for websites, marketplaces, social media, catalogs, and advertising campaigns.
Before opening Photoshop, it is important to capture the right source images. Good photography makes the editing process considerably easier.
You will generally need:
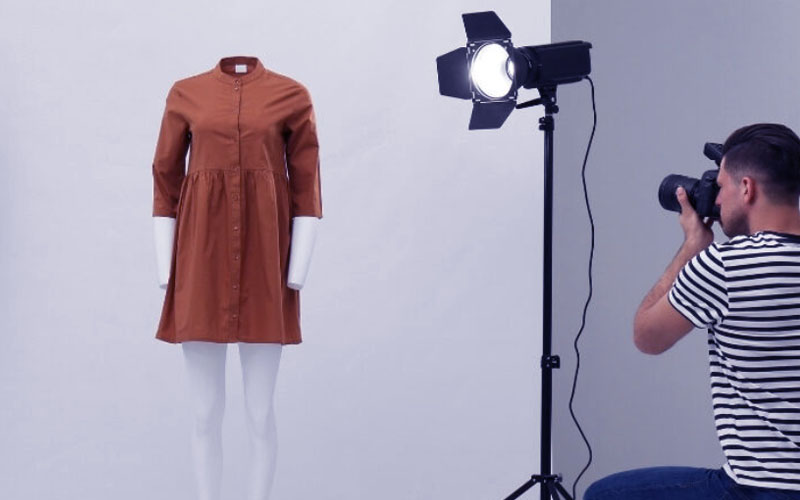
The most important requirement is consistency. Keep the camera position, focal length, lighting, and garment placement consistent between photographs.
Start by properly placing the garment on the mannequin. Make sure the shoulders, sleeves, collar, and other important areas are positioned naturally.
Remove wrinkles where possible, because excessive wrinkles can make the final ghost mannequin image look unrealistic.
Pay attention to:
A few minutes of preparation can save significant editing time later.
Place the mannequin against a simple background and position your camera directly in front of the product.
Use consistent lighting across all images. Soft, evenly distributed lighting is usually preferable because it reduces harsh shadows and makes background removal easier.
Try to keep:
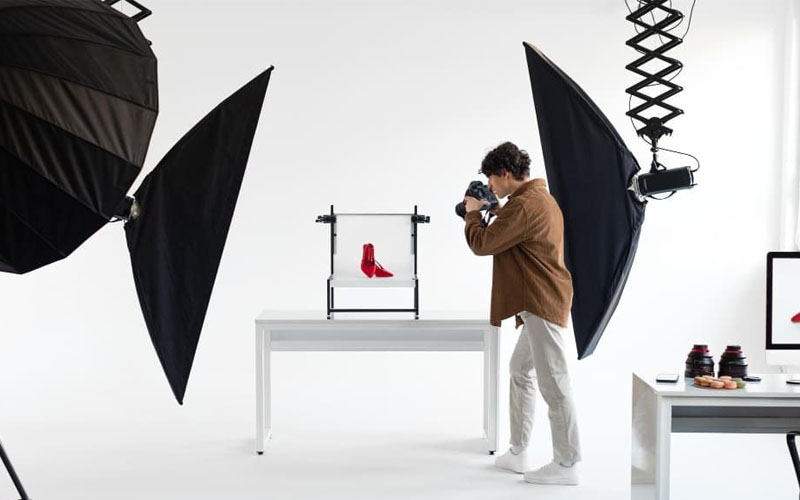
For professional catalogs, photographing every product using the same setup helps create a uniform visual style.
This is one of the most important steps in ghost mannequin photography.
The mannequin may cover parts of the garment, such as the inside collar, chest, neckline, or waist. To reconstruct these areas, photograph the garment separately without the mannequin.
For example, if you are editing a shirt, take:
These images will later be combined in Photoshop.
This process is often called neck joint editing or hollow man editing.
Once your photography is complete, open the images in Adobe Photoshop.
You can open both the mannequin photograph and the additional inner garment photograph as separate layers in the same document.
The mannequin image will generally serve as the primary layer, while the inside image will provide the missing garment details.
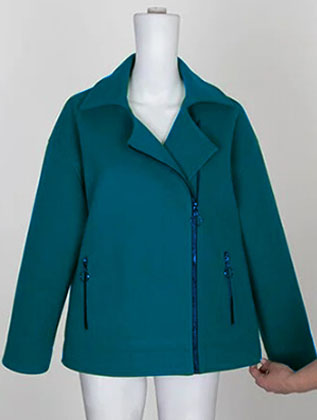
Before editing, make sure both images have similar dimensions and alignment.
The next step is to isolate the clothing from the background.
Photoshop provides several tools for this process, including:
For professional e-commerce images, the Pen Tool remains a useful option when precise edges are required.
Create a path around the garment carefully. Follow the natural edges of sleeves, collars, shoulders, hems, and other areas.
After creating the selection, convert it into a layer mask or selection depending on your workflow.
Avoid deleting pixels permanently whenever possible. Layer masks allow you to make corrections later without damaging the original image.
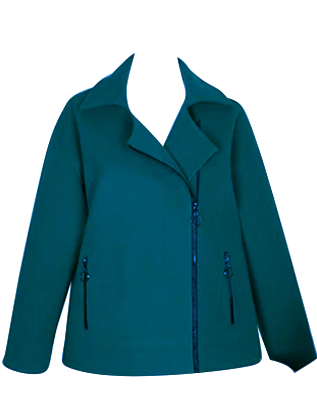
Once the garment has been isolated, remove the visible mannequin.
The exact process depends on the type of mannequin and garment.
For simple areas, selection and masking may be sufficient. For complicated areas, you may need to combine masking with cloning or retouching.
The objective is not simply to erase the mannequin. You need to preserve the natural shape of the clothing.
For example, if the mannequin creates tension around a shirt collar, simply removing the mannequin may leave an unnatural hole. This is where the additional inner garment photograph becomes important.
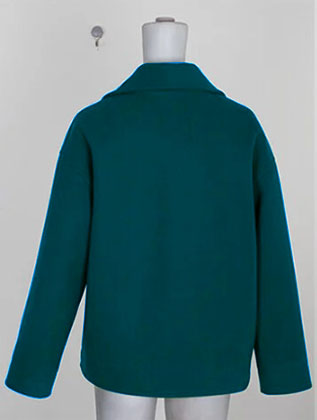
Place the photograph showing the inside of the garment above the main mannequin layer.
Resize and position it so that the inner collar or neckline aligns naturally with the main garment.
Use a layer mask to hide unwanted portions of the secondary image.
Carefully blend the edges around the collar. The transition should look natural rather than like two photographs were simply placed together.
Pay attention to:
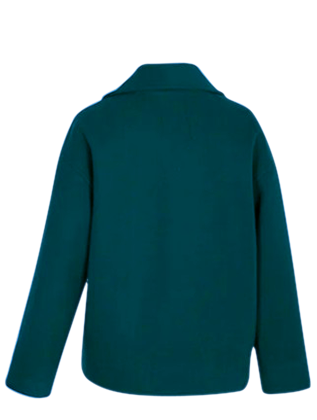
A realistic neck joint is one of the key elements that separates professional ghost mannequin editing from basic background removal.
After removing the mannequin, inspect the entire product at high magnification.
Look for:
Use the Brush Tool, Layer Mask, Clone Stamp, or Healing tools to correct these problems.
For fabric edges, avoid making them excessively smooth. Real clothing naturally has small irregularities. Over-editing can make a garment look artificial.
A common mistake in ghost mannequin editing is removing every shadow.
Shadows provide depth and help the garment appear three-dimensional.
Instead of eliminating all shadows, retain or recreate subtle natural shadows where appropriate.
You can use Photoshop’s:
The shadow should remain subtle. Excessive darkness can make the product look dirty or poorly photographed.
After the mannequin has been removed, compare the garment with the original photograph.
Make sure the product color is accurate.
Use adjustment tools such as:
For e-commerce photography, color accuracy is especially important because customers expect the product displayed online to resemble the actual garment.
Avoid excessive saturation or contrast. Your goal should be realistic representation rather than dramatic photo enhancement.
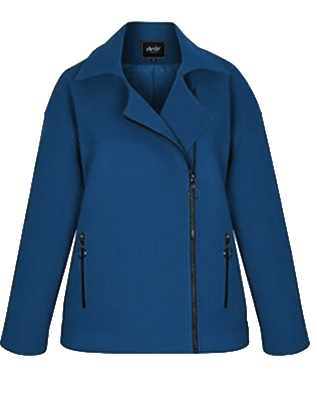
Zoom in and inspect buttons, zippers, seams, logos, stitching, pockets, and fabric patterns.
Small imperfections can become obvious when images are displayed on large desktop screens or zoomed in on e-commerce platforms.
Make sure:
This final cleanup stage can significantly improve the professional appearance of the image.
Many online stores use white or light backgrounds for apparel photography.
After completing the ghost mannequin effect, place the garment against the desired background.
Pure white backgrounds are common for marketplace listings, while fashion brands may use light gray or branded backgrounds.
Maintain sufficient space around the garment so the product does not appear cramped.
Once editing is complete, prepare the image for its intended platform.
Do not automatically use the largest possible file size. Large images can slow down websites, while excessively compressed images can lose important details.
Optimize:
JPEG is commonly used for standard product photography, while PNG can be useful when transparency is required. Modern formats such as WebP can also help reduce website image size while maintaining good visual quality.
Even experienced editors can make mistakes during invisible mannequin editing.
If the original garment is badly positioned or poorly lit, Photoshop cannot completely solve the problem.
Combining photographs captured from different angles can create obvious alignment problems.
Jagged edges or visible halos make the image look unprofessional.
Heavy shadows can make a product look unrealistic.
Changing the garment color too aggressively can misrepresent the actual product.
If the inside of a collar or neckline is not properly reconstructed, the hollow effect may look artificial.
Removing every wrinkle can make fabric look unnatural. Some texture and folds are necessary to preserve realism.
Both techniques have advantages.
Model photography shows how clothing looks when worn and can communicate lifestyle, fit, and styling. Ghost mannequin photography, on the other hand, focuses directly on the product.
For online stores, using both can be an effective strategy. Lifestyle photographs can inspire customers, while ghost mannequin images provide a clean and detailed product view.
Creating high-quality invisible mannequin images can be time-consuming, especially for retailers with hundreds or thousands of products.
Professional ghost mannequin editing services can help businesses handle large-volume image editing without requiring an in-house Photoshop team.
Professional editors can manage:
For agencies and fashion brands working with large catalogs, outsourcing can also provide a more consistent editing workflow.
For the best results, follow these guidelines:
A professional ghost mannequin editing tutorial should cover more than simply removing a mannequin from a photograph. The real objective is to create a realistic, polished product image that accurately represents the garment while giving customers a clear view of its design and structure.
The process involves careful photography, accurate selections, mannequin removal, neck joint editing, edge refinement, color correction, shadow adjustment, and final image optimization. When these steps are performed correctly, the finished image can look as though the clothing is floating naturally in three-dimensional space.
For e-commerce sellers, photographers, fashion brands, and agencies, ghost mannequin editing is a valuable technique for creating consistent and professional apparel catalogs. Whether you edit products yourself in Photoshop or outsource the work to a professional image editing company, investing in high-quality product images can help create a stronger online shopping experience and present your products more effectively.
If your business handles a large volume of apparel photography, professional ghost mannequin photo editing services can make the workflow faster, more scalable, and more consistent. With the right combination of photography and post-production, you can transform ordinary mannequin photographs into clean, professional e-commerce images that put the product first.