August 9, 2026
Introduction to the Ghost Mannequin Effect
In online apparel retail, image quality directly dictates conversion rates. Unlike traditional retail stores, online shoppers cannot physically touch, try on, or inspect clothing items. To make informed purchasing decisions, customers rely heavily on product photos that display fit, drape, texture, and structural details.
The ghost mannequin effect (also known as the invisible mannequin or 3D mannequin technique) solves a major visual challenge in e-commerce: presenting garments with realistic shape and volume without displaying a distraction—such as a live model or a plastic mannequin.
By taking multiple photos of a garment on a modular mannequin—and capturing additional shots of internal details like neck tags or linings—retouchers can merge the images into a seamless 3D view. The result is a clean product showcase that focuses solely on the apparel itself.
Why E-Commerce Apparel Brands Rely on Ghost Mannequins
While live model photography is invaluable for branding, lifestyle imagery, and editorial campaigns, it poses operational and financial challenges when applied to full product catalogs.
Key Benefits
Essential Gear & Studio Setup
Achieving professional results requires a stable shooting environment and consistent lighting.
Studio Equipment Checklist
Step-by-Step Photography Workflow
Creating a ghost mannequin composite requires taking a set of matching photographs with identical lighting and camera positions.
Step 1: Prep and Style the Garment
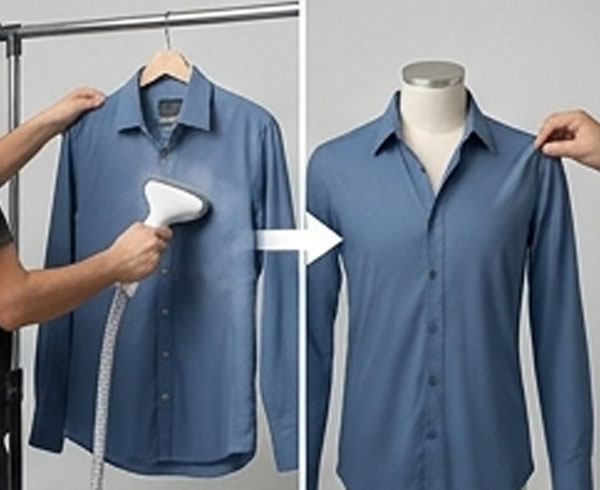
Steaming is critical. Wrinkles ruin clean lines and increase post-production editing time.
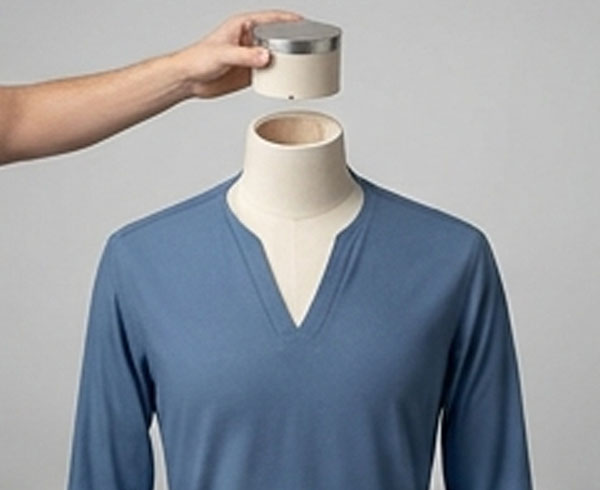
Step 2: Remove Relevant Mannequin Modules
If you are shooting a V-neck shirt or an open jacket, remove the neck piece or upper chest insert of the mannequin so the back interior of the garment is visible without plastic blocking the shot.
Step 3: Camera & Lighting Settings
Set your camera to full Manual (M) mode to maintain consistent exposure across all shots.
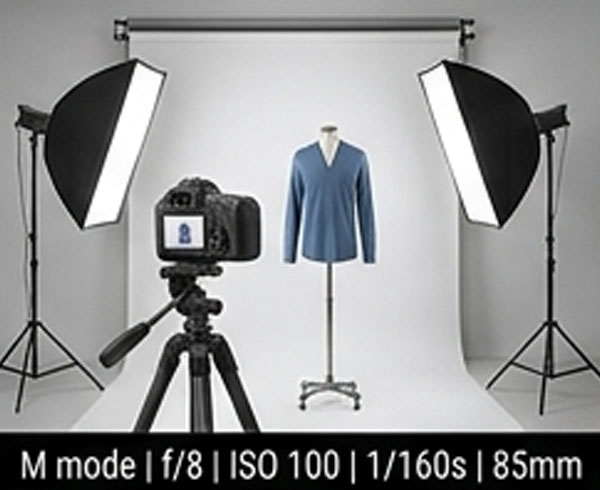
Step 4: Shoot the External Garment (Shot A)
Mount your camera securely on the tripod. Position your main key light at 45 degrees relative to the subject and set fill lights to soften harsh shadows. Capture the front and back of the dressed mannequin.
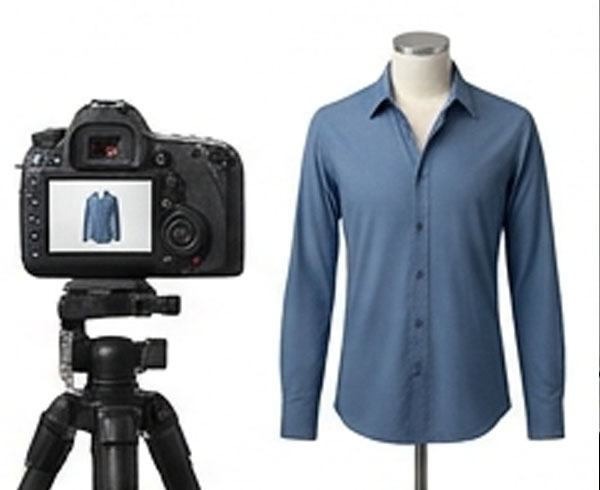
Step 5: Shoot the Interior/Neck Detail (Shot B)
Without moving the tripod or camera position:
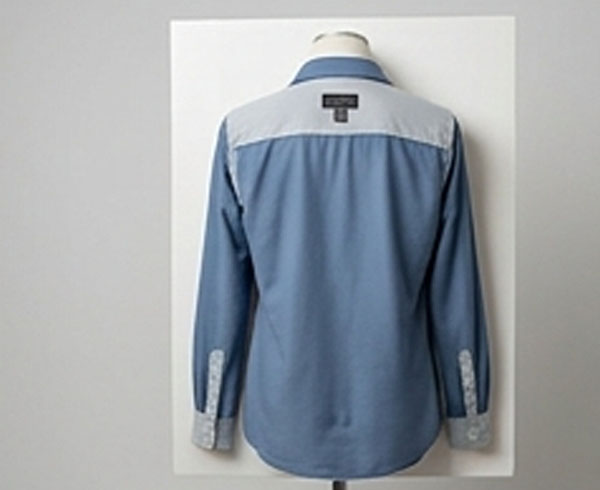
Step-by-Step Invisible Mannequin Post-Production Guide
Once photography is complete, the images move to post-production in Adobe Photoshop.
Step 1: Image Selection and Layering
Open Shot A (Outer Garment) and Shot B (Inner Neck/Label) as separate layers in the same Photoshop document. Ensure Shot A is placed on top of Shot B.
Step 2: Cut Out the Outer Garment (Shot A)
Step 3: Cut Out the Inner Neck (Shot B)
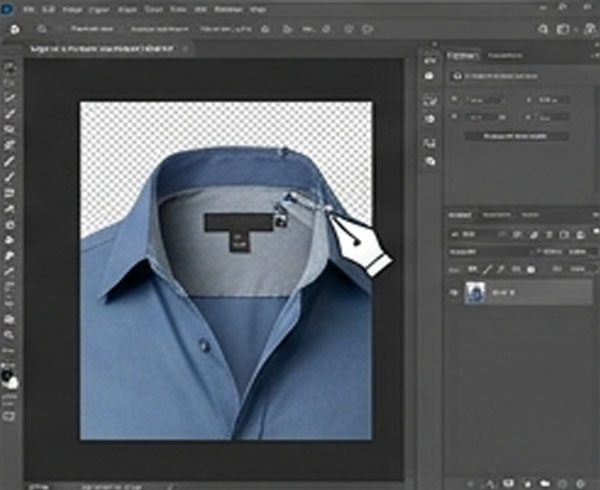
Step 4: Align and Combine Layers
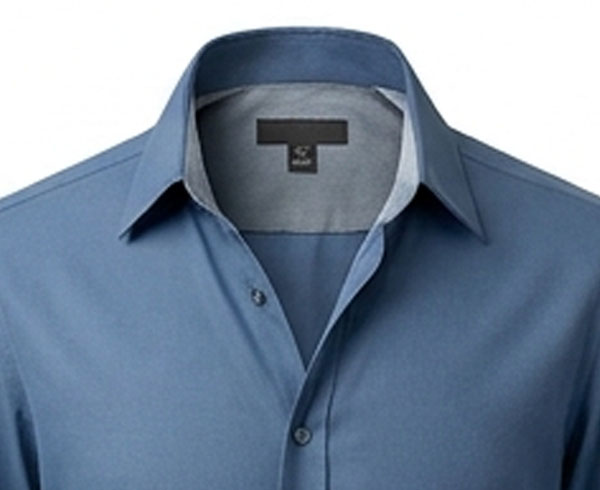
Step 5: Add Realistic Inner Shadows
Without shadows, the composite image will look flat and artificial.
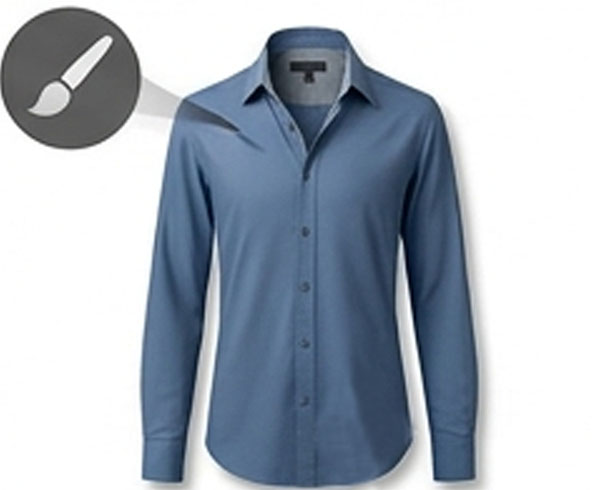
Step 6: Background Cleanup & Color Correction
6. Best Practices for Complex Apparel Types
Different garments introduce unique editing challenges. Here is how to handle them:
| Apparel Type | Challenge | Solution |
| Jackets & Blazers | Multi-layer interiors, linings, and lapels | Shoot the jacket open on the mannequin, then shoot the jacket turned inside out on foam board to preserve inner pocket details. |
| Sheer & Lace Tops | Transparent fabrics show mannequin skin underneath | Use a translucent or clear mannequin, or shoot flat-lay accents to overlay behind the transparent fabric during editing. |
| Hats & Helmets | Internal linings and straps blocked by mounting head | Cut away the top portion of a foam head or use elevated wire stands to suspend headwear safely. |
| Dresses & Gowns | Long drapes lose volume off mannequin | Insert tissue paper, petticoats, or wire framing internally to maintain skirt flair during the shot. |
7. In-House vs. Outsourcing Your Ghost Mannequin Workflow
As e-commerce operations scale, managing image editing internally can become a bottleneck.
In-House Editing
Outsourcing to Post-Production Agencies
Tip for E-Commerce Managers: Shooting in-house while outsourcing post-production clipping and ghost mannequin assembly often yields the best balance of quality, speed, and cost-efficiency.
8. Conclusion
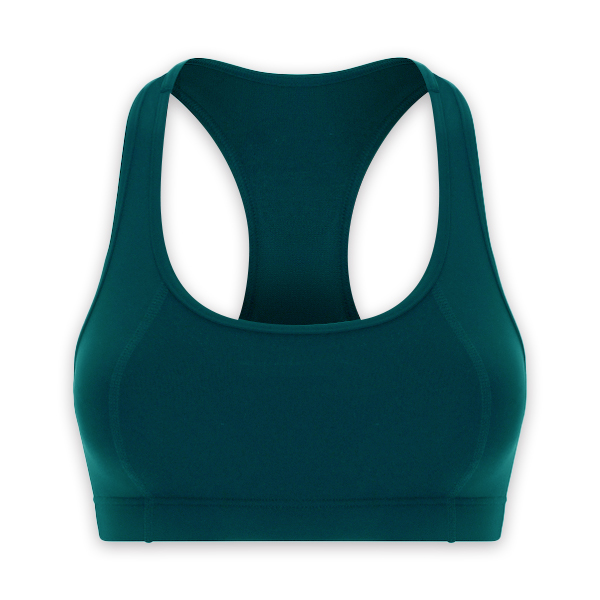
The ghost mannequin technique is an essential visual asset for modern apparel e-commerce brands. By mastering precise studio prep, consistent lighting, and clean Photoshop layering, brands can deliver clean, professional images that drive sales and lower return rates.
By establishing a standardized workflow for both photography and post-production editing, your storefront will maintain a sleek, unified catalog that builds customer trust and elevates your brand image.