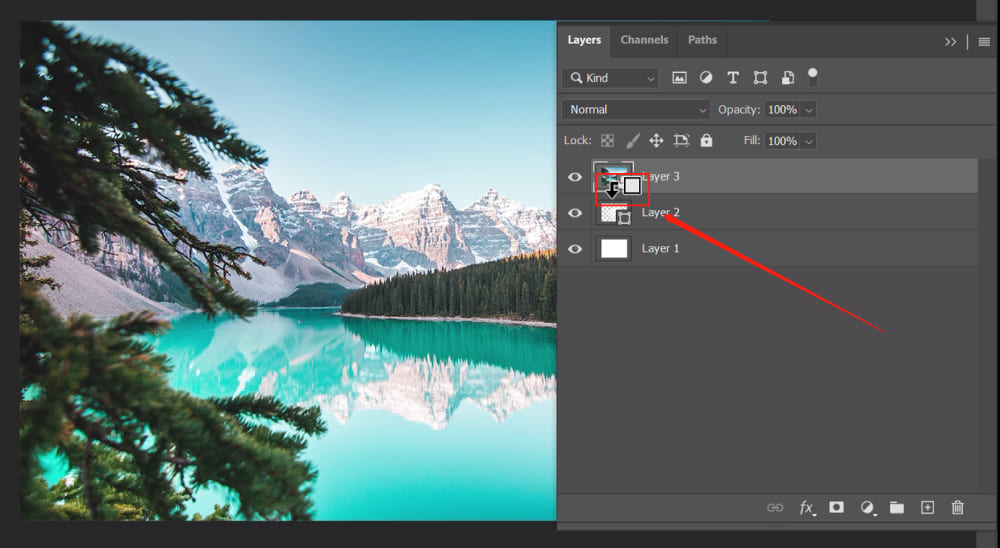
To use layer and clipping masks in Photoshop, open the desired image and shape files. Arrange the shape layer below the image layer in the Layers panel.
Then, select the image layer and go to the “Layer” menu. Choose “Create Clipping Mask” or use the shortcut “Ctrl+Alt+G” (Windows) or “Cmd+Option+G” (Mac) to apply the mask. Clipping masks in Photoshop are a powerful tool for creating visually appealing designs.
By combining layer and clipping masks, you can control the visibility of specific elements in your project. Understanding how to use these masks effectively will help you enhance your design skills and achieve professional-looking results. In this guide, we will explore the basics of layer and clipping masks in Photoshop, including how to create and apply them to your images and shapes. Let’s dive in and learn how to make the most of these creative tools in Photoshop.

Credit: medium.com
Layer masks in Photoshop are important tools that help you control the transparency of a layer. They allow you to show or hide parts of a layer without permanently deleting any pixels, giving you flexibility in editing your images.
Learn how to use layer and clipping masks in Photoshop with this comprehensive guide. Discover the difference between layer masks and clipping masks, and master the process of creating and applying them to enhance your design projects.
A clipping mask in Photoshop is a powerful tool that allows you to control the visibility of one layer using the shape of another. It works by clipping one layer to the content of another layer beneath it.
Clipping masks are handy for applying adjustments to specific areas of an image without affecting the entire image. Mastering clipping masks in Photoshop can greatly enhance your editing capabilities and allow for more precise and creative designs.
Layer masks and clipping masks are both powerful tools in Photoshop that enable users to control the visibility and appearance of their layers. While both masks serve similar purposes, they operate in slightly different ways, offering unique benefits and applications. Understanding the difference between these two masking techniques can greatly enhance your editing capabilities and result in more efficient and polished designs.
Layer masks control the visibility of specific parts of a layer, allowing for non-destructive editing by hiding or revealing portions of the layer. This can be particularly useful when blending multiple layers or creating subtle adjustments to image elements. On the other hand, clipping masks enable the creation of a mask by clipping one or more layers to another layer or layer group below, effectively confining their visibility to the shape of the base layer.
When creating a layer mask, you can use tools like brushes, gradients, or selection tools to define the areas of visibility for the associated layer. This flexibility allows for precise control over the masking process, making it ideal for complex or intricate edits. Clipping masks, on the other hand, are created by simply positioning the clipping layer directly above the base layer and applying the “Create Clipping Mask” command, instantly confining the visibility of the clipped layer to the shape of the base layer.
Credit: www.tourboxtech.com
In this section, we will explore advanced techniques for using layer and clipping masks in Photoshop. These techniques will help you take your editing skills to the next level and create stunning visual effects in your designs.
One powerful technique in Photoshop is the integration of layer masks and clipping masks. By combining these two features, you can create complex compositions with seamless blending and intricate detail.
To integrate a layer mask with a clipping mask, follow these steps:
By integrating a layer mask with a clipping mask, you can selectively reveal or hide specific areas of an image or artwork while maintaining the overall composition.
To streamline your workflow and make the most of layer and clipping masks in Photoshop, consider the following tips:
By following these workflow tips, you can optimize your creative process and save time while working with layer and clipping masks in Photoshop.

Credit: www.youtube.com
To apply a clipping mask in Photoshop, place the shape layer below the image layer, then select the image layer and go to the “Layer” menu. Choose “Create Clipping Mask” or use shortcut “Ctrl+Alt+G” (Windows) or “Cmd+Option+G” (Mac).
In Photoshop, a layer mask controls layer visibility, while a clipping mask clips layers to another below.
To create a clipping mask for an adjustment layer in Photoshop, select the layer and choose “Create Clipping Mask. “
To apply a layer mask to a selection in Photoshop, follow these steps: Select the Magic Wand tool and choose “Contiguous”. Click the background, add to the selection if needed, then choose “Select” > “Invert”. The subject is now selected, and you can create a layer mask from the selection.
Mastering layer and clipping masks in Photoshop can revolutionize your design process. It offers unparalleled creative freedom and precision editing. By incorporating these techniques into your workflow, you can elevate your projects to new heights. Embrace the power of layer and clipping masks and unlock endless design possibilities.
Elevate your digital artistry today!